Blog
How to Clean a Pedestal Fan Properly: Step-by-Step Guide
Updated on Mar 2026
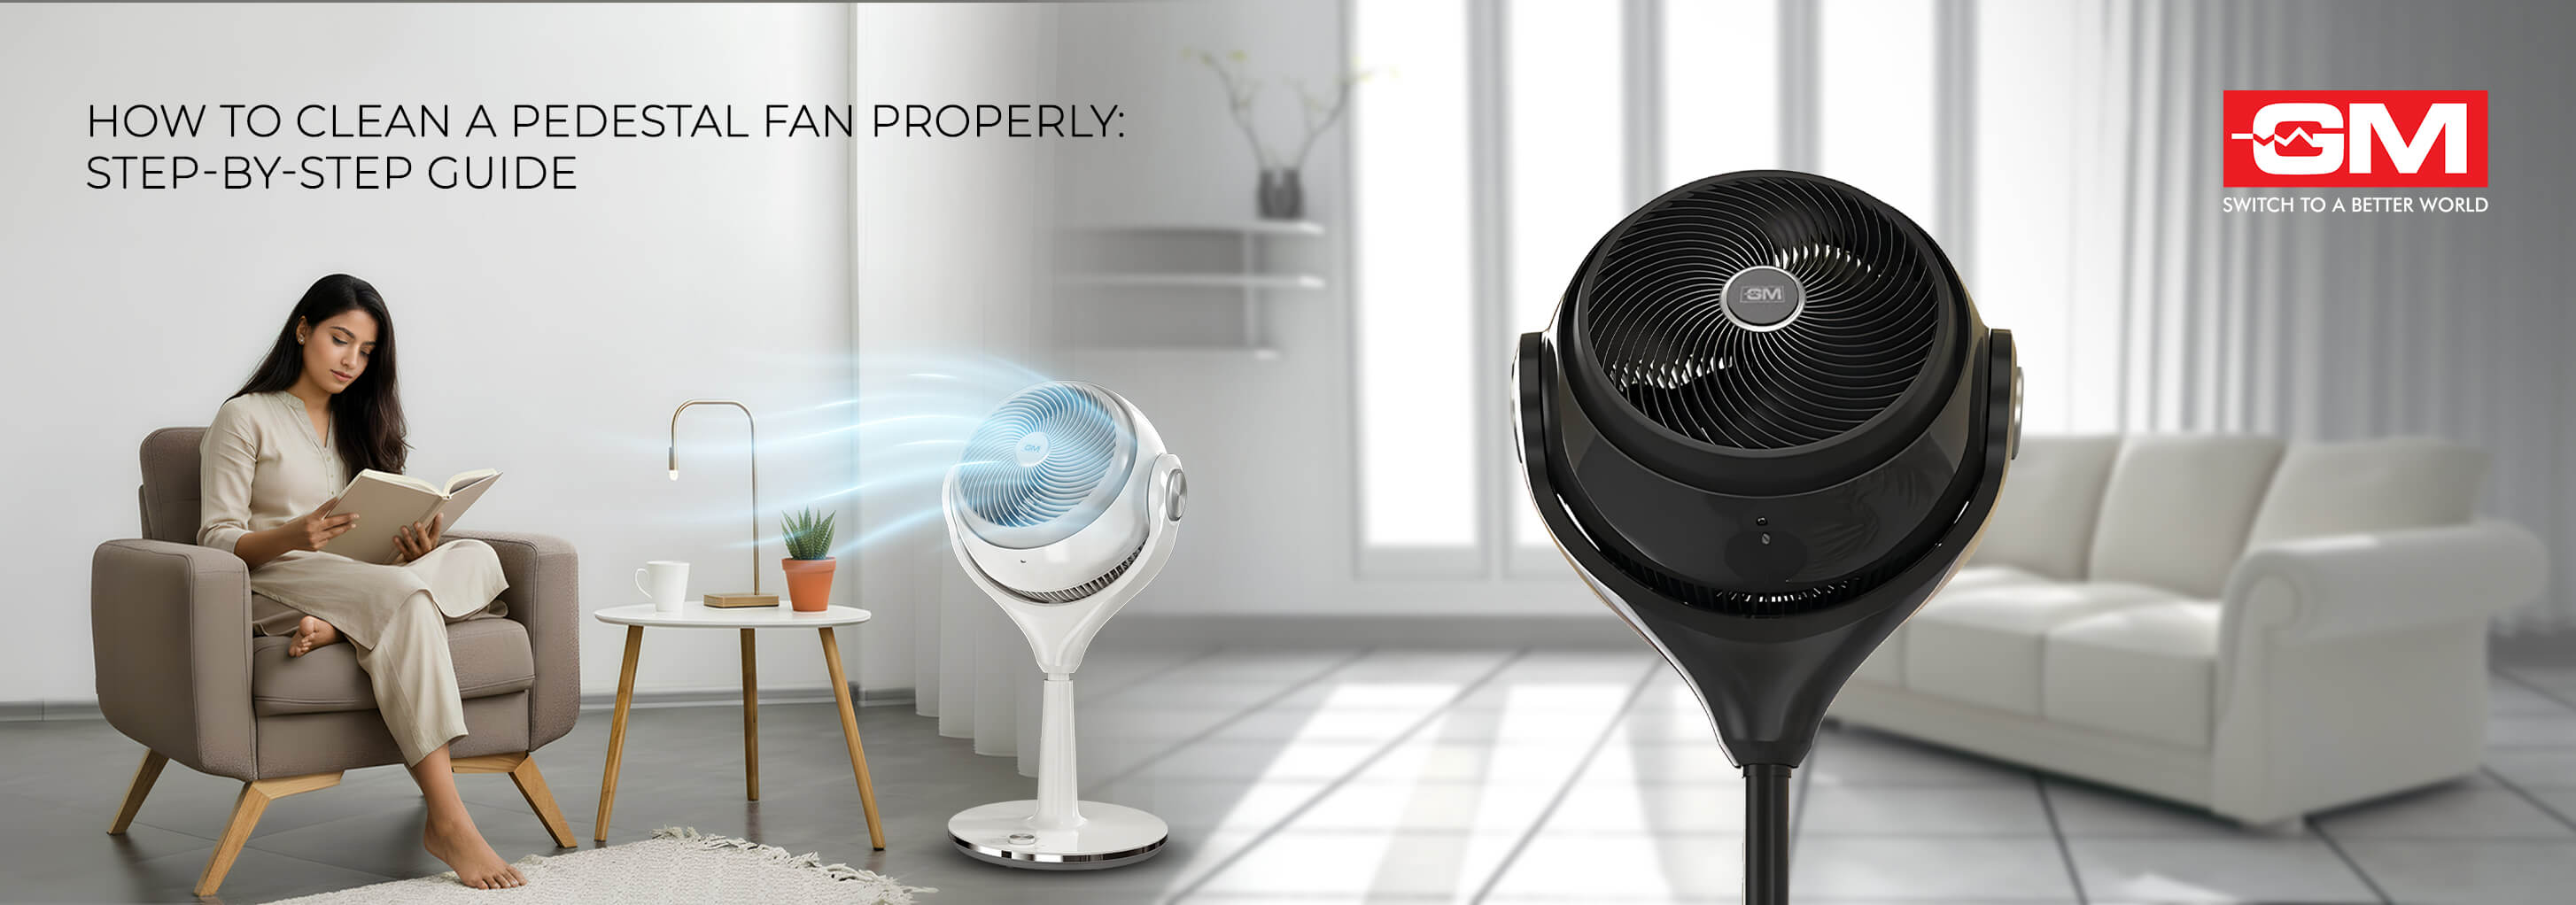
A dusty pedestal fan does more than look neglected; it circulates allergens, pollen, and fine particles throughout your home with every rotation. If you have noticed reduced airflow, unusual humming, or simply a layer of grime on those blades, it is time for a thorough clean.
Learning how to clean your pedestal fan properly takes just 20 minutes and can restore performance, reduce noise, and add years to your appliance's life. This guide walks you through every step safely and simply.
Before You Start: Safety Essentials
-
Unplug the fan completely from the power socket
-
Keep water away from the motor housing at all times
-
Ensure dry hands before handling any components
-
Wear rubber gloves if you have sensitive skin or heavy dust buildup
-
Keep children and pets away from the cleaning area
Why Regular Cleaning is Essential?
Understanding how to clean pedestal fan components goes beyond aesthetics. Regular pedestal fan cleaning offers several important benefits that affect your health, comfort, and energy bills.
-
Healthier air quality: Dusty fan blades circulate allergens, pollen, and fine particles. A clean fan delivers fresher air to breathe.
-
Improved efficiency and lower energy use: Clean blades cut through the air more effectively, providing stronger airflow at lower speeds, which reduces electricity consumption.
-
Extended motor life: Dust acts as an insulator, trapping heat around the motor. Regular cleaning helps prevent overheating.
-
Quieter operation: Uneven dust buildup on blades causes wobbling and vibration. Removing it reduces annoying humming sounds.
Preparation and Tools Required
Before you grab a screwdriver, gather everything you need. Having tools within reach makes the job faster and safer.
Tools and Materials Checklist:
-
Flathead screwdriver
-
Microfibre cloth or soft cotton rags
-
Mild dish soap
-
Bucket of warm water
-
Vacuum cleaner with brush attachment
-
Small bowl for screws
-
Old newspaper or plastic sheet
-
Rubber gloves (optional)
Work in a well-ventilated area, especially if dealing with heavy dust buildup.
Step-by-Step Guide to Deep Cleaning Your Fan
Now that you have your tools ready, let us walk through how to clean pedestal fan parts thoroughly. Follow these steps in order for the best results.
Step 1: Disconnect and Safety Check
-
Unplug the fan from the electrical socket completely
-
Never clean while connected to power, even if switched off
-
Wait 2-3 minutes for the motor to cool if recently running
Step 2: Remove the Front Grille
-
Locate the clips around the edge of the front grille
-
Gently squeeze the clips to release, or unscrew the central cap
-
Place the screws in your small bowl immediately to avoid losing them
Step 3: Unscrew the Blade Cap and Remove Blades
-
The blade cap (spinner/blade nut) sits at the centre of the blades
-
Important: Many models use reverse threading; turn clockwise to loosen
-
Once loose, slide the blades off the motor shaft carefully
-
Handle blades by the centre hub, not the edges
Step 4: Wash the Washable Parts
-
Fill the bucket with warm water and a few drops of mild dish soap
-
Submerge grilles and blades fully
-
Scrub gently with a microfibre cloth
-
Avoid abrasive scrubbers (they scratch plastic)
-
Rinse thoroughly to remove all soap residue
Warning: Never submerge the motor or any electrical components in water.
Step 5: Clean the Motor Housing (Dry Clean Only)
-
Use the vacuum cleaner's brush attachment on vents and crevices
-
Follow up with a dry microfibre cloth
-
For stubborn dust: use a slightly damp (not wet) cloth, then dry immediately
-
Never spray cleaner directly on the motor
Note: Motor vents are typically located on the back of the fan head.
Step 6: Special Tip for Mist Fans
If you own a pedestal fan with water spray functionality:
-
Check the water tank for algae growth or mineral deposits
-
Clean tank with a mixture of water and white vinegar (1:1 ratio)
-
Clear spray nozzle using a thin needle or toothpick
-
Rinse the tank thoroughly before refilling
Step 7: Dry and Reassemble
-
Ensure 100% dryness before reassembly (critical step)
-
Sun-dry parts for 30 minutes, or towel-dry completely
-
Reassemble in reverse order: blades first, then grilles
-
Remember: reverse threading when tightening the blade cap
-
Tighten screws securely, but avoid overtightening plastic
Pre-Reassembly Checklist: Before putting your fan back together, confirm:
-
All parts are completely dry (no moisture anywhere)
-
Blade cap direction noted (reverse threading)
-
No loose screws remaining in your bowl
-
Grille clips are intact and undamaged
-
Motor vents are clear of dust
Also Read: Best Fans for Summer to Keep You Cool at Home
Common Mistakes to Avoid
Even simple cleaning tasks can go wrong. Here are the most common errors:
| Mistake | How to Avoid |
| Using too much water | Use damp cloths, never dripping wet |
| Forgetting reverse threading | Check direction before forcing |
| Reassembling while damp | Wait for complete dryness |
| Spraying cleaner on the motor | Dry clean only with vacuum or cloth |
| Overtightening plastic parts | Hand-tighten firmly, then stop |
| Losing screws | Use a small bowl from the start |
Quick Cleaning vs. Deep Cleaning: When to Do Which?
Not every pedestal fan cleaning session requires full disassembly. Understanding when to do a quick wipe versus a thorough teardown saves time and effort.
| Method | Frequency | Process |
| Quick Clean | Weekly | Vaccum or wipe grilles and exterior surfaces without removing parts |
| Deep Clean | Monthly or End of Season | Full disassembly, washing of removable parts, and motor housing cleaning |
If your fan runs daily during summer, increase the quick cleaning frequency to twice weekly. For fans in storage, a deep clean before storing and after retrieving is sufficient.
Choosing a Low-Maintenance Fan
When shopping for the best pedestal fan, consider models designed with easy maintenance in mind. Premium fans often feature quick-release grilles, smooth blade surfaces that resist dust adhesion, and rust-resistant materials that withstand occasional moisture.
GM Modular fans are designed with user-friendly features that simplify cleaning. Their pedestal fans include easy-to-remove grilles and durable ABS plastic blades that clean effortlessly. Designed for Indian homes, these units balance performance with practical maintenance requirements.
Is It Time for an Upgrade?
Sometimes cleaning is not enough. If your pedestal fan rattles persistently even after thorough cleaning, the motor bearings might be worn. Unusual humming, overheating, or reduced airflow despite clean blades often indicate internal wear.
Considering the reasonable pedestal fan price of modern energy-efficient models, replacement might be a smarter choice than repairing an aging unit. Newer fans offer better airflow, quieter motors, and lower electricity consumption.
Regular cleaning keeps your pedestal fan running quietly and efficiently, improving air quality and extending its lifespan. With just 20 minutes of maintenance, you can enjoy fresh, clean airflow throughout the summer months. For fans built with durability and easy maintenance in mind, browse GM Modular's range of premium fans and switch to a better cooling experience today
Frequently Asked Questions
1. How often should I clean my pedestal fan?
Perform a light cleaning weekly by wiping the grilles and exterior. A deep clean with full disassembly is recommended monthly during heavy use or at the end of each season before storage.
2. Can I wash the fan blades in the dishwasher?
No, dishwashers are not suitable for fan blades. The high heat can warp plastic components. Always hand-wash blades in warm, soapy water for safe cleaning.
3. Why is my pedestal fan making a humming noise?
A humming pedestal fan typically indicates a dust imbalance on the blades or loose screws. Clean the blades thoroughly and tighten all fasteners to resolve the issue.
4. How do I clean the motor area safely?
Use a vacuum cleaner with a brush attachment or compressed air to remove dust from the motor housing. Never use water or damp cloths directly on the motor.
5. What is the best pedestal fan for easy maintenance?
Look for models with quick-release grilles, smooth blade surfaces, and rust-resistant components. GM Modular offers pedestal fans designed with easy maintenance features.
Related Blogs

Bladeless Fan Buying Guide: 10 Checks | GM Modular
Bladeless Fan Buying Guide: 10 Things to Check Before You Buy A bladeless fan looks like the obvious upgrade. No spinning blades, a slim tower, a quiet hum, and a price that hints it must be the better choice. But the word “bladeless” on
Read More
What Is a GaN Charger? A Simple Guide
What Is a GaN Charger? Everything You Need to Know You have probably used gallium nitride for years without knowing it. Before it reached the charger on your wall, this material lit up the first white LEDs, powered blue lasers, and read the discs in
Read More
GM Artic Air 1: 3-in-1 Bladeless Tower Fan
Why the GM Artic Air 1 Is the Ultimate 3-in-1 Appliance for Every Season Picture one slim tower in the corner of your living room. In May, it cools you through a brutal afternoon. In August, it clears the damp, stale air the monsoon leaves beh
Read More
Wireless Charging vs Wired Charging: Which Is Faster?
Wireless Charging vs Wired Charging: Which Is Faster? If your phone is at 10% and you have twenty minutes before heading out, which charger should you grab: the cable or the pad? Wireless charging is everywhere now, yet most of us still reach for a
Read More